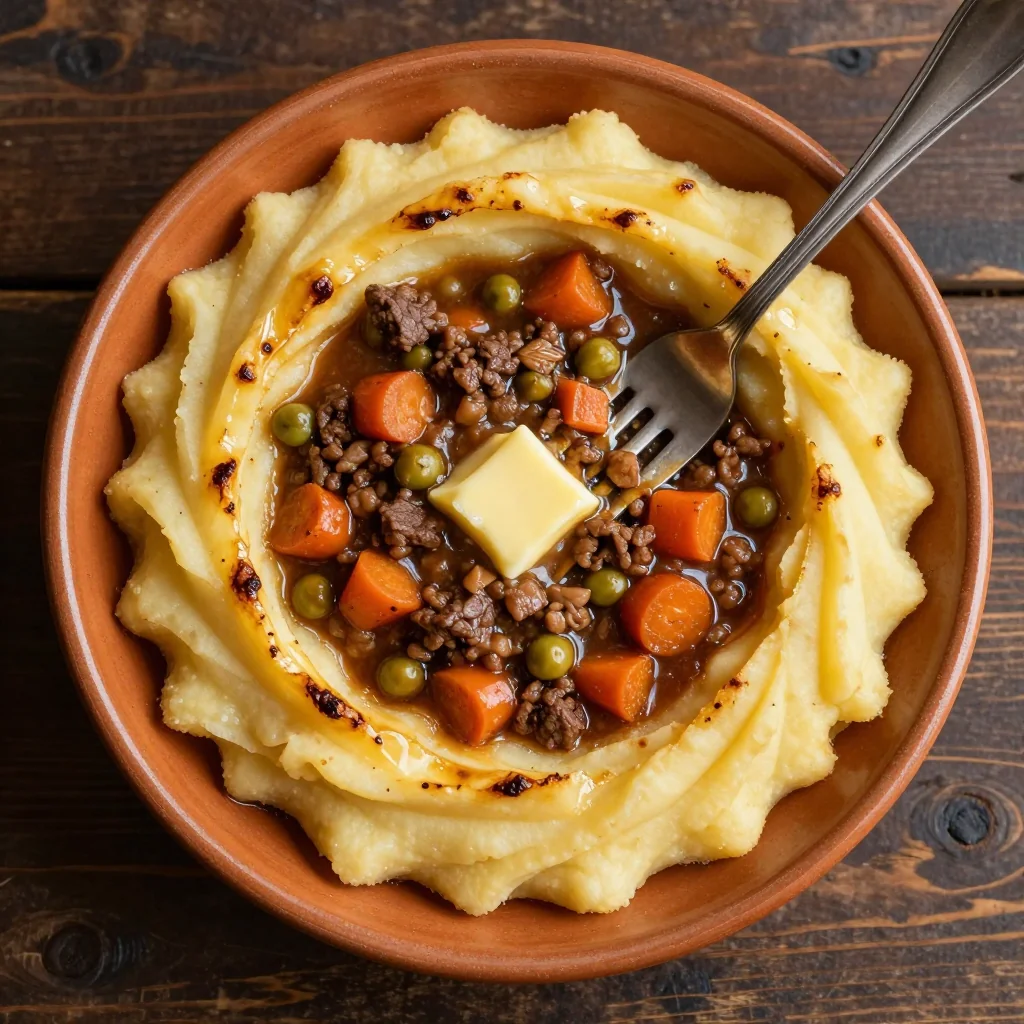
I was in the middle of a kitchen catastrophe when a friend dared me to whip up something that would make everyone forget the mess. The pot on the stove had spilled tomato sauce over the counter, the counter was a sticky battlefield, and the air smelled like burnt garlic. I glanced at the fridge, saw a block of farmer’s cheese, some flour, and a bag of breadcrumbs, and thought, “Why not pierogi?” The idea of dumplings had always been a comfort, but this version was going to be a game‑changer. By the time the clock ticked, I was ready to roll dough like a pro.
The kitchen was a symphony of clatter, sizzling, and the occasional sigh of frustration, but I could feel the rhythm of possibility humming through the space. My hands, already slick from the cheese, began to move with a confidence that was almost theatrical. The dough started to rise in my mind, not on the countertop, as I imagined the soft, pillowy interior that would cradle the sweet filling. I could already taste the buttery crumbs crunching against my tongue, the subtle spice of cinnamon mingling with the gentle sweetness of sugar. The whole scene felt like a stage where the audience was my own hungry imagination.
If you’ve ever found yourself staring at an empty pantry and wondering how to turn the ordinary into extraordinary, this recipe is the answer. It’s a quick, comforting food delight that turns simple pantry staples into a dish that feels like a hug from the inside out. I dare you to taste this and not go back for seconds, because the layers of flavor will keep you coming back for more. The dough is tender, the filling is sweet and aromatic, and the breadcrumbs give a satisfying crunch that shatters like thin ice. It’s a dish that will make you wonder how you ever made pierogi any other way.
Picture yourself pulling this out of the oven, the whole kitchen smelling incredible, the steam rising like a fragrant cloud that invites everyone to taste. The first bite is a burst of buttery crumb, followed by a silky cheese filling that melts into your mouth, and a hint of cinnamon that lingers like a sweet after‑taste. It’s the kind of comfort food that feels like a warm blanket on a cold night, but with a modern twist that makes it feel fresh and exciting. The secret lies in the simple yet precise balance of ingredients and the method that brings out their best. Let me walk you through every single step — by the end, you’ll wonder how you ever made it any other way.
What Makes This Version Stand Out
- Flavor: The combination of farmer’s cheese and a touch of cinnamon creates a sweet‑savory profile that feels both nostalgic and adventurous. The cheese melts into a velvety interior while the cinnamon adds a subtle warmth that lingers after each bite. The result is a flavor profile that is unmistakably comforting yet intriguingly complex.
- Texture: The dough is soft and airy, yet firm enough to hold the filling without cracking. The breadcrumbs on the surface add a delightful crunch that contrasts perfectly with the silky interior. This duality of textures makes every bite a sensory delight.
- Ease: With only eight simple steps and a handful of pantry staples, this recipe is a breeze even for novice cooks. The dough doesn’t require any special equipment, and the filling can be prepped in advance to save time. It’s a recipe that fits seamlessly into a busy weeknight.
- Uniqueness: Most pierogi recipes focus on savory fillings like potato or sauerkraut, but this version embraces sweetness without sacrificing depth. The cinnamon and sugar in the filling give it a dessert‑like quality while still maintaining the integrity of a dumpling. It’s a fresh take that sets it apart from the usual fare.
- Crowd‑pleaser: Whether you’re feeding a family or hosting a gathering, these pierogi are guaranteed to be a hit. The combination of sweet and savory appeals to all ages, and the dish can be served as an appetizer, side, or main course. Guests will leave asking for the recipe.
- Ingredient Quality: Using fresh farmer’s cheese and real butter elevates the flavor profile dramatically. The quality of the ingredients is the foundation that allows the dish to shine. The recipe showcases how a few premium components can transform a simple dish into something special.
- Make‑ahead Potential: The pierogi can be assembled ahead of time and frozen, then baked or pan‑fried later. This flexibility makes it an ideal option for meal prep or for those who want to enjoy a homemade dish without the daily effort. It’s a time‑saving solution without compromising taste.
Inside the Ingredient List
The Flavor Base
Farmer’s cheese is the heart of this dish, providing a creamy, tangy foundation that balances the sweetness of sugar and cinnamon. It’s a fresh, high‑fat cheese that melts beautifully, creating a luscious interior that feels indulgent. If you can’t find farmer’s cheese, a blend of ricotta and cottage cheese will work, though the texture will be slightly lighter. The key is to keep the cheese chilled until you’re ready to mix, as warm cheese can make the dough sticky.
The Texture Crew
All‑purpose flour gives the dough its structure, while the eggs act as binders that hold everything together. The eggs also contribute a slight richness that enhances the overall mouthfeel. For a gluten‑free version, you can substitute a 1:1 blend of rice flour and xanthan gum, but the dough will behave differently and require more patience. The eggs are a critical component; skipping them will result in a crumbly dough that won’t hold the filling.
The Unexpected Star
Breadcrumbs are more than a garnish; they provide a crispy exterior that contrasts the soft filling. Toasting the breadcrumbs before adding them to the dough adds a nutty flavor that elevates the dish. If you prefer a lighter texture, you can use panko breadcrumbs, which will give a fluffier crunch. The breadcrumbs also absorb excess moisture, preventing the pierogi from becoming soggy.
The Final Flourish
Sugar and cinnamon are the sweet duo that gives the filling its signature taste. The sugar dissolves into the cheese, creating a silky glaze, while the cinnamon adds warmth and depth. If you want a spicier kick, a pinch of nutmeg or allspice will complement the cinnamon nicely. The combination of these two spices is what turns a simple dumpling into a memorable experience.
Everything's prepped? Good. Let's get into the real action. The next few steps will guide you from dough to golden, bite‑size perfection. Keep your eyes on the texture and aroma, as they are the true indicators of readiness. Each step is essential, and a small deviation can change the outcome dramatically. Now, let’s roll out the dough and begin the adventure.
The Method — Step by Step
- In a large mixing bowl, combine the farmer’s cheese, sugar, and cinnamon. Use a fork or a small whisk to blend until the mixture is smooth and the sugar is fully dissolved. The mixture should look silky and glossy; if it appears grainy, give it a quick blend. This is the sweet heart of your pierogi.
- In a separate bowl, whisk the eggs with a pinch of salt until the yolk and whites are fully blended. The eggs will act as the glue that binds the dough. While whisking, you can add a splash of cold water to thin the mixture slightly, which helps the dough come together more evenly. The goal is a homogeneous, slightly runny mixture.
- Gradually add the flour to the wet ingredients, stirring continuously to form a shaggy dough. Once the flour is incorporated, knead the dough on a floured surface for about 5 minutes until it becomes smooth and elastic. The dough should not be sticky; if it is, sprinkle a little more flour. This kneading step is where the gluten develops, giving the pierogi structure.
- Incorporate the toasted breadcrumbs into the dough. Stir until the breadcrumbs are evenly distributed, ensuring they are not clumped. The breadcrumbs will add crunch to the final product and help absorb any excess moisture. This step is crucial for achieving that desirable golden crust.
- Cover the dough with a damp cloth and let it rest for 20 minutes. Resting relaxes the gluten, making the dough easier to roll out. During this time, the dough will firm up slightly, allowing you to roll it without it tearing. This pause is often overlooked but makes a significant difference.
- Roll out the dough on a lightly floured surface to a thickness of about 2 mm. Use a rolling pin or a pasta machine set to the desired thickness. Cut out circles using a 6 cm cookie cutter or a glass. The circles should be uniform to ensure even cooking.
- Place a teaspoon of the cheese‑cinnamon filling onto the center of each dough circle. Fold the dough over to create a half‑moon shape, and press the edges together to seal. Use a fork to crimp the edges, ensuring no filling escapes. The sealing step is the moment of truth; a good seal keeps the filling inside.
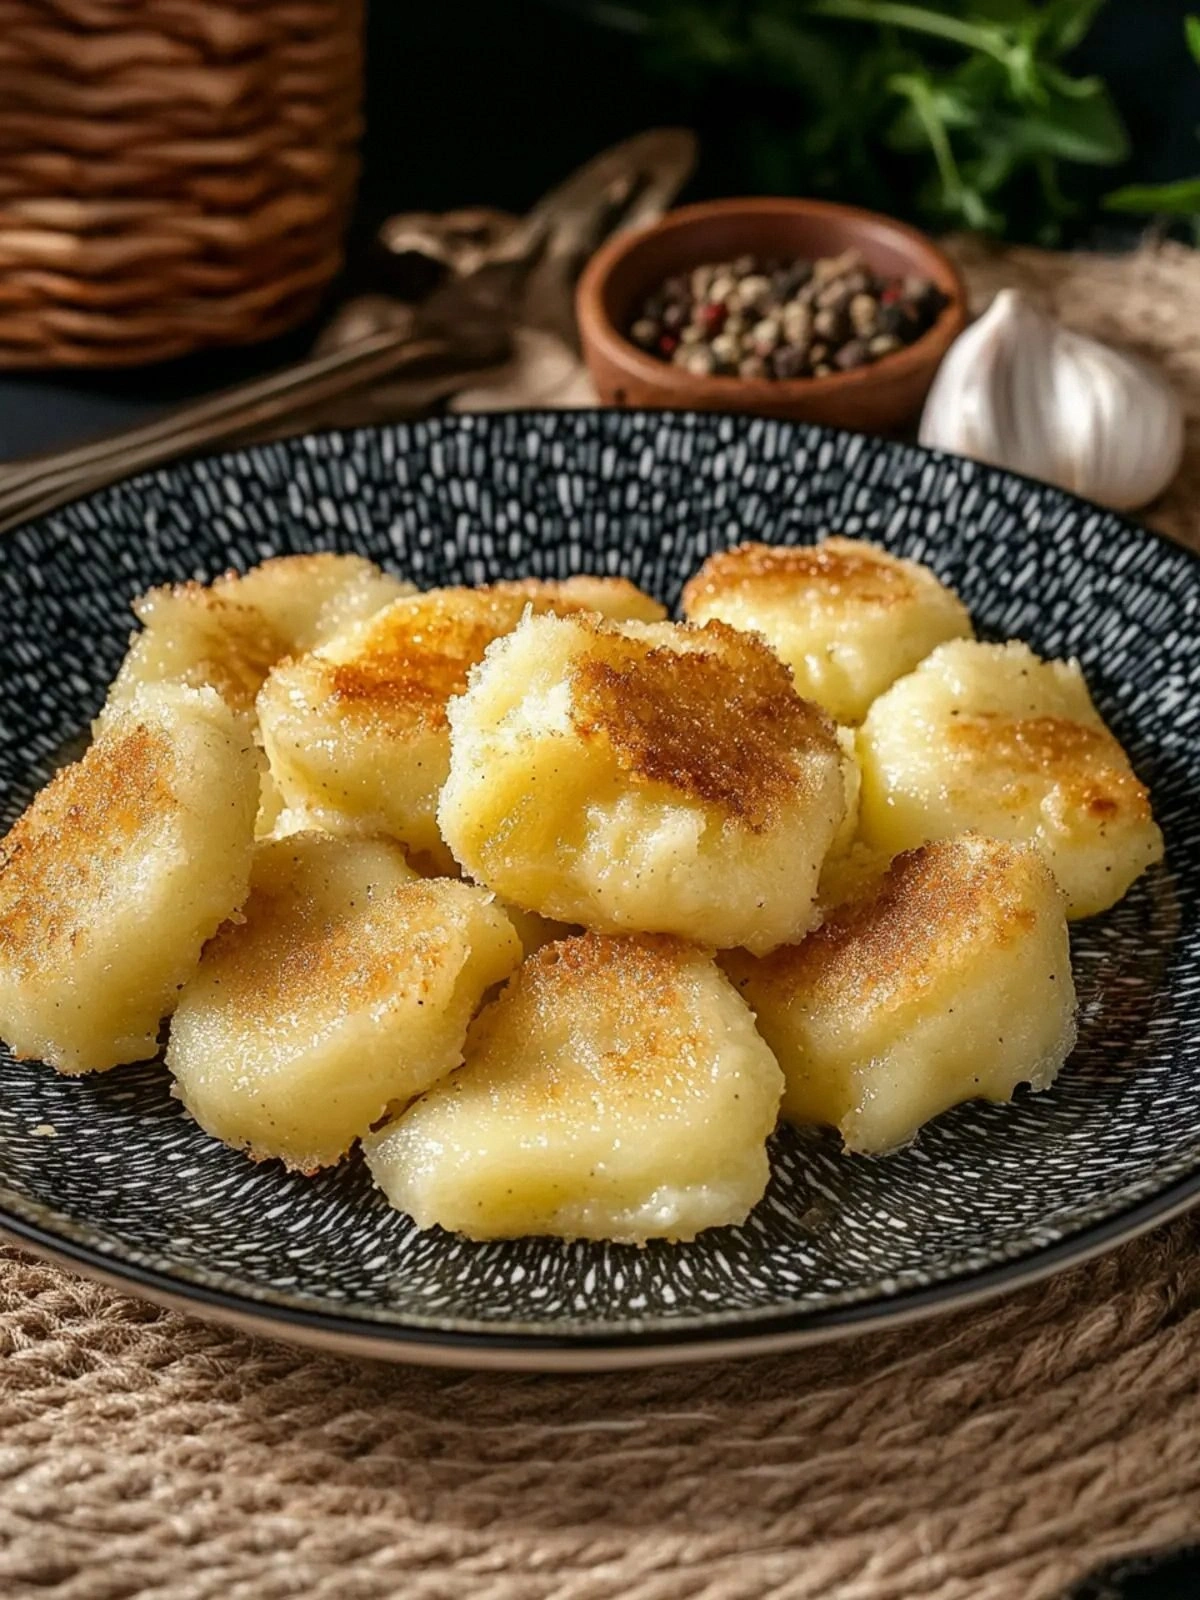
- Heat a large pot of salted water to a rolling boil. Gently drop the pierogi into the water, working in batches to avoid overcrowding. Cook for 3–4 minutes or until they rise to the surface, then let them simmer for an additional 2 minutes. The pierogi should look plump and the edges slightly crisp.
- Remove the pierogi with a slotted spoon and transfer them to a baking sheet lined with parchment paper. Brush the tops lightly with melted butter to promote browning. Bake in a preheated oven at 200 °C (400 °F) for 10–12 minutes until golden brown and crisp.
- Serve the pierogi hot, dusted with powdered sugar or accompanied by a dollop of whipped cream. The contrast between the warm, buttery crust and the cool, sweet filling creates an unforgettable experience. Pair with a glass of chilled apple cider for a perfect balance of flavors. The final plating is a feast for both the eyes and the palate.
That's it — you did it. But hold on, I've got a few more tricks that'll take this to another level. The next section will reveal insider tips that will help you avoid common pitfalls and elevate the dish even further. Trust me, these little adjustments make a huge difference.
Insider Tricks for Flawless Results
The Temperature Rule Nobody Follows
Many cooks underestimate the importance of water temperature when boiling pierogi. A rolling boil ensures the dough cooks evenly and prevents the pierogi from sticking together. If the water is too cold, the pierogi will expand too slowly, causing the dough to become soggy. Keep a close eye on the heat and maintain a steady boil throughout the cooking process.
Why Your Nose Knows Best
The aroma of butter and breadcrumbs rising in the oven is the first indicator that your pierogi are ready. When you smell that warm, nutty scent, the crust is achieving that golden perfection. Trust your senses; the smell often tells you more than the timer does. This simple cue can prevent over‑baking and preserve the delicate texture.
The 5‑Minute Rest That Changes Everything
Letting the pierogi rest for 5 minutes after baking allows the steam to settle and the flavors to meld. This short pause also helps the crust firm up slightly, making it easier to pick up and serve. Skipping this step can leave the pierogi feeling slightly soggy on the inside. A quick rest is a small investment for a big payoff.
The Secret to a Crispy Crust
Brushing the pierogi with melted butter before baking is essential for a crisp, golden crust. The butter not only adds flavor but also promotes even browning. For an extra crunch, sprinkle a pinch of sea salt over the buttered surface before baking. The combination of butter and salt creates a savory contrast that complements the sweet filling.
The Perfect Portion Size
Using a 6 cm cookie cutter ensures each pierogi is the same size, which guarantees uniform cooking. If you prefer larger pierogi, increase the cutter size to 8 cm, but remember that the cooking time will also increase. Consistent size is key for even heat distribution and a balanced bite.
Creative Twists and Variations
This recipe is a playground. Here are some of my favorite ways to switch things up:
Caramelized Onion Pierogi
Swap the farmer’s cheese for a mixture of caramelized onions and a splash of balsamic vinegar. The sweetness of the onions pairs beautifully with the cinnamon, creating a savory‑sweet combo. Serve with a dollop of sour cream for an extra layer of richness.
Nutty Almond Pierogi
Add chopped toasted almonds to the breadcrumb mixture for a nutty crunch. The almonds add a pleasant bite and a subtle nutty flavor that complements the cinnamon. This variation is perfect for those who love a bit of texture in every bite.
Chocolate‑Infused Pierogi
Mix in a tablespoon of cocoa powder into the cheese filling for a chocolatey twist. The cocoa pairs with the cinnamon to create a dessert‑like experience. Dust with powdered sugar for a classic chocolate cookie look.
Herbed Cheese Pierogi
Incorporate chopped fresh herbs such as dill or parsley into the cheese mixture. The herbs add a fresh, aromatic note that brightens the dish. This variation works well when paired with a lemon‑y yogurt sauce.
Spicy Cinnamon Pierogi
Add a pinch of cayenne pepper or a dash of smoked paprika to the filling for a subtle heat. The spice balances the sweetness and adds a layer of complexity. This version is ideal for those who enjoy a mild kick.
Storing and Bringing It Back to Life
Fridge Storage
Store uncooked pierogi in an airtight container in the refrigerator for up to 2 days. If you’ve already cooked them, keep them in a sealed container for up to 3 days. The key to freshness is preventing moisture buildup, which can make the dough soggy.
Freezer Friendly
Place uncooked pierogi on a parchment‑lined tray and freeze until solid, then transfer to a freezer bag. They can be stored for up to 3 months. For cooked pierogi, freeze them in a single layer, then transfer to a bag. When ready to eat, reheat directly from frozen.
Best Reheating Method
To reheat frozen pierogi, bake them at 200 °C (400 °F) for 12–15 minutes until golden and crisp. For fresh pierogi, simply warm them in a skillet with a splash of butter for 2–3 minutes. Add a tiny splash of water before reheating to create steam that restores moisture and prevents drying out.