I was standing in my kitchen, staring at a half‑finished pot of bland beef stew, when my roommate dared me to turn it into something that would make the whole block line up for tacos. I laughed, but the challenge ignited a fire that made me grab a massive chunk of chuck roast and a handful of spices I’d been hoarding for months. The moment the beef hit the hot pan, a thunderous sizzle erupted, filling the room with an aroma that felt like a fiesta marching through a desert at sunset. I could hear the distant hum of the refrigerator, feel the heat radiating from the stovetop, see the caramelized edges turning a deep, inviting mahogany, and taste the promise of something truly unforgettable.
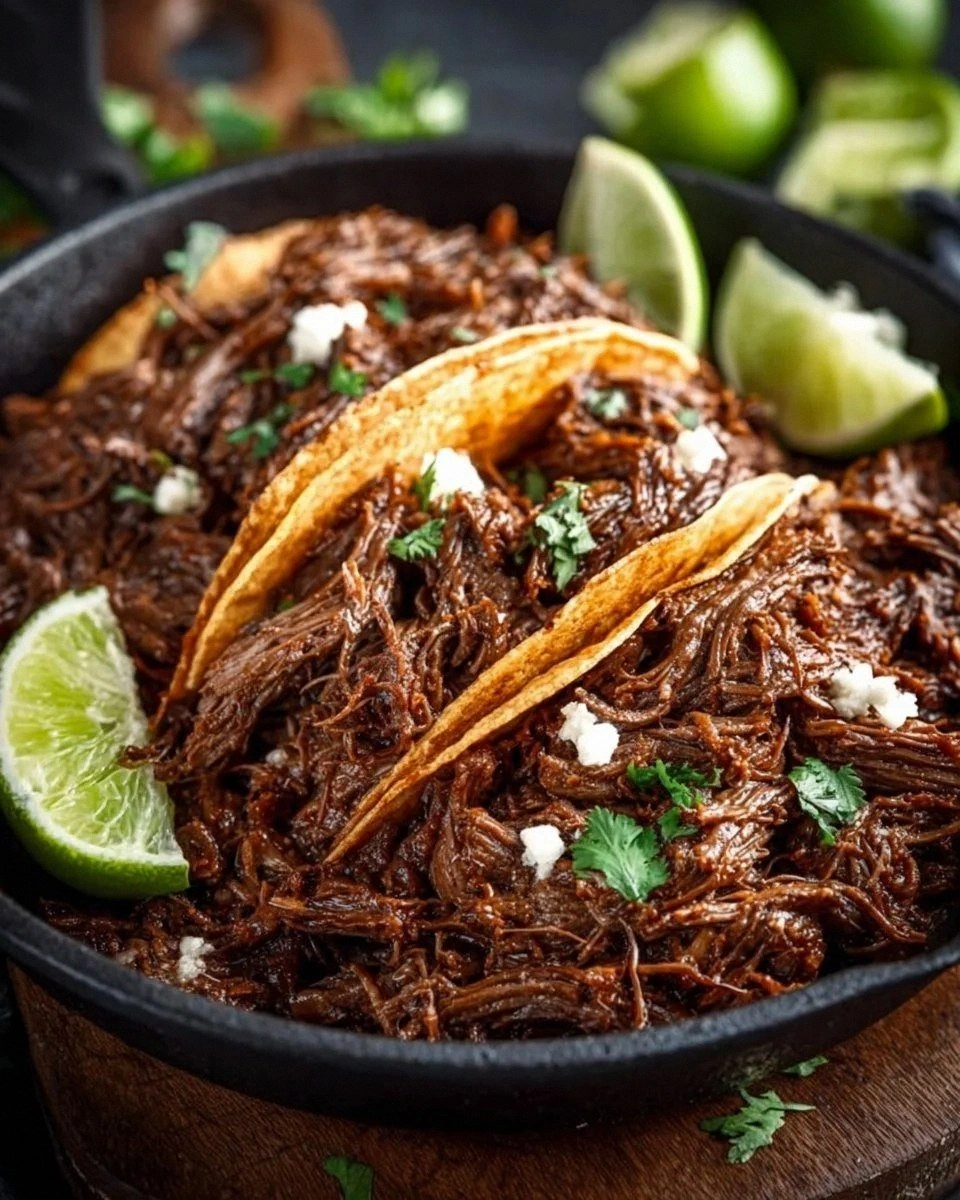
Fast forward a few hours, and I was standing over a mountain of shredded beef that glistened with lime, cumin, and a whisper of smoked paprika. The texture was so tender it fell apart at the mere suggestion of a fork, and the flavor was a bold, layered punch that made my taste buds do a salsa dance. I’ll be honest — I ate half the batch before anyone else got to try it, and that was the only mistake I made that day. This version stands out because it marries the depth of a slow‑cooked stew with the bright zing of fresh lime, creating a taco filling that’s simultaneously comforting and exhilarating.
Most recipes get this completely wrong. They either over‑spice the meat until it’s a one‑note disaster, or they skim on the aromatics, leaving you with something that feels like a dry, overcooked shoe leather. Here’s what actually works: a quick sear to lock in juices, a slow braise in a broth that’s seasoned like a Mexican street‑food stall, and a final splash of lime that cuts through the richness like a cool breeze on a hot day. I dare you to taste this and not go back for seconds — the combination is so addictive you’ll be dreaming about it on the subway ride home.
Picture yourself pulling this out of the pot, the whole kitchen smelling incredible, the steam swirling like a carnival parade, and the anticipation building as you spoon the meat onto warm tortillas. Okay, ready for the game‑changer? The secret ingredient isn’t a spice at all; it’s the way I deglaze the pan with beef broth, coaxing every caramelized crumb into the sauce. Let me walk you through every single step — by the end, you’ll wonder how you ever made it any other way.
What Makes This Version Stand Out
- Flavor Explosion: The blend of cumin, chili powder, and smoked paprika creates a deep, smoky backdrop that’s brightened by lime, delivering a taste that’s both bold and balanced.
- Silky Texture: Slow‑cooking the chuck roast until it’s fall‑apart tender ensures every bite melts in your mouth, making it perfect for stuffing into soft tortillas.
- Simplicity: With just a handful of pantry staples you probably already own, you won’t need a spice rack the size of a warehouse.
- Unique Twist: The final lime splash is the secret weapon that lifts the whole dish, preventing it from feeling heavy.
- Crowd‑Pleaser: Even the pickiest eaters can’t resist the aromatic steam and the satisfying chew of the shredded beef.
- Ingredient Quality: Using a well‑marbled chuck roast or brisket adds richness that lean cuts simply can’t match.
- Cooking Method: The sear‑then‑braise technique builds layers of flavor that a straight‑slow‑cook never achieves.
- Make‑Ahead Potential: This dish tastes even better the next day, making it perfect for meal‑prep or a weekend fiesta.
Inside the Ingredient List
The Flavor Base
The onion and garlic are the aromatic backbone; they create a fragrant foundation that’s essential for any Mexican‑style stew. Dicing the onion finely ensures it melts into the broth, releasing natural sugars that caramelize during the sear. If you skip the garlic, you’ll lose that unmistakable depth that makes the dish feel authentic. A good swap for the onion is a mix of shallots for a sweeter note, but keep the garlic because it’s the true star of the base.
The Texture Crew
Chuck roast or brisket is the hero here. The marbling in these cuts renders fat into the meat as it cooks, creating a buttery mouthfeel that’s impossible to replicate with lean cuts. When buying, look for a piece with visible streaks of fat and a deep red color — that’s the sign of quality. If you can’t find brisket, a well‑marbled chuck roast works just as well, and the result will be just as succulent.
The Unexpected Star
Lime juice is the surprise element that cuts through the richness and adds a bright, citrusy pop. Adding it at the very end preserves its fresh zing; if you add it too early, the acid will mellow out and you’ll lose that punch. For those who are averse to too much acidity, a splash of orange juice can add a subtle sweetness while still brightening the dish.
The Final Flourish
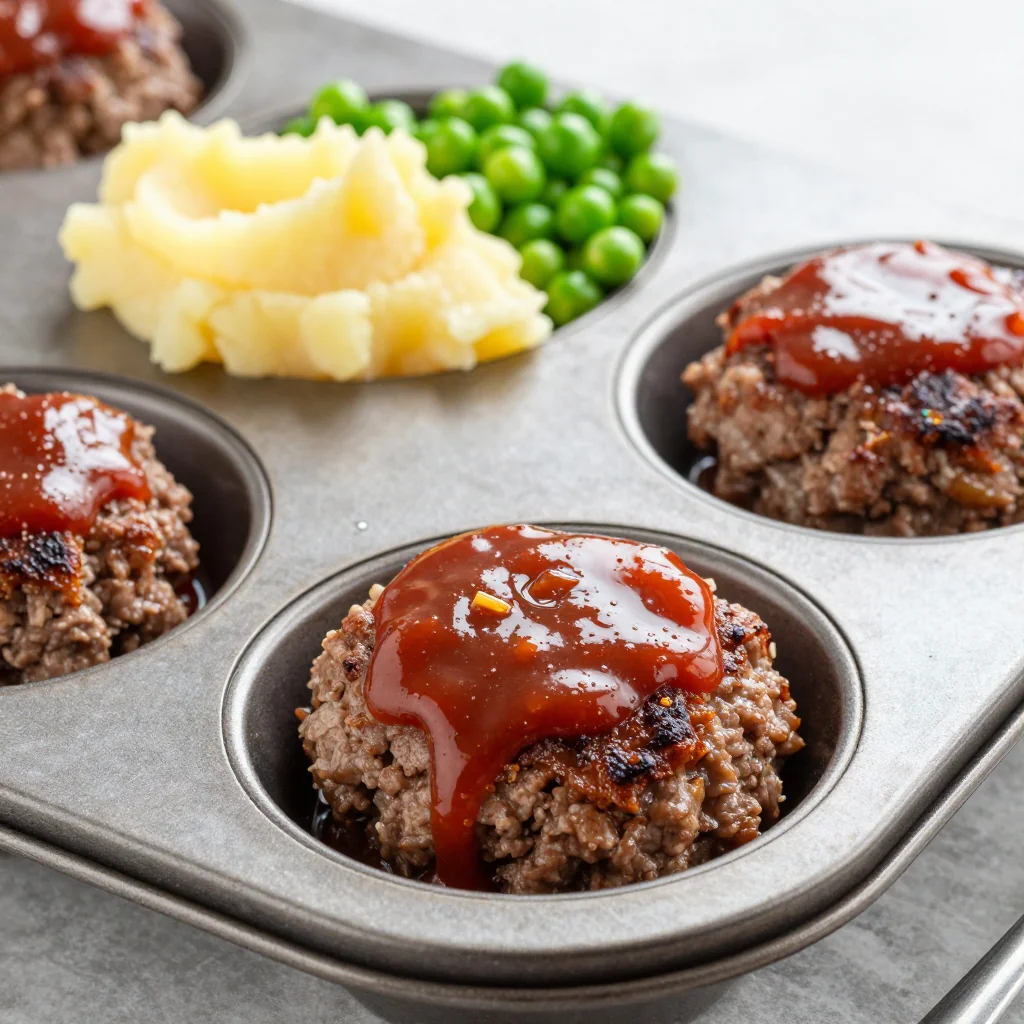
Corn or flour tortillas are the vehicle for delivering the shredded beef to your palate. Freshly warmed tortillas provide a soft, pliable canvas that lets the beef shine. If you’re feeling adventurous, try grilling the tortillas for a charred edge that adds texture. And don’t forget the fresh toppings — cilantro, diced tomatoes, onions, and avocado bring color, crunch, and cool creaminess that balance the heat.
Everything's prepped? Good. Let’s get into the real action…
The Method — Step by Step
Pat the 3‑lb chuck roast chunks dry with paper towels, then season them generously with salt and black pepper. The seasoning creates a flavorful crust once it hits the hot pan. Heat 2 tbsp olive oil in a large Dutch oven over medium‑high heat until it shimmers, then add the meat in a single layer, making sure not to crowd the pot. Let each side sear for about 3‑4 minutes; you’ll hear a satisfying sizzle that signals the Maillard reaction is in full swing. Once browned, remove the beef and set it aside — this step locks in juices and builds the base for a rich sauce.
In the same pot, toss in the diced onion and let it soften for 4‑5 minutes, stirring occasionally. The onions will turn translucent and start to caramelize, releasing natural sweetness that balances the spices later. Add the minced garlic and cook for another 30 seconds, just until fragrant — be careful not to burn it, as burnt garlic adds bitterness.
Kitchen Hack: If you’re short on time, use pre‑minced garlic in a jar, but add it a little earlier to avoid raw flavor.Now sprinkle in 2 tbsp ground cumin, 2 tbsp chili powder, and 1 tbsp smoked paprika. Stir constantly for about a minute so the spices toast lightly; this releases their essential oils and deepens the flavor profile. You’ll notice the mixture turning a rich, earthy brown and smelling like a Mexican market stall at dawn. At this point, pour in 2 cups beef broth, scraping the bottom of the pot with a wooden spoon to dissolve all those caramelized bits — that’s flavor gold.
Return the seared beef to the pot, nestling the chunks into the aromatic broth. The liquid should come about halfway up the meat; if it looks low, add a splash more broth or water. Bring everything to a gentle boil, then reduce the heat to low, covering the pot with a tight‑fitting lid. Let the mixture simmer for 2‑2½ hours, checking occasionally. The meat will become fork‑tender, and the broth will thicken into a velvety sauce that clings to each shred.
After the long braise, remove the beef and place it on a cutting board. Using two forks, shred the meat into bite‑size strands — this is the moment where the magic truly happens. If you prefer extra tenderness, you can let the shredded beef rest in the warm broth for another 10 minutes; the fibers will absorb even more flavor.
Stir 2 tbsp lime juice into the remaining sauce, tasting as you go. The lime should brighten the dish without overwhelming it; think of it as a final brushstroke on a masterpiece. If you love heat, this is the perfect time to add a pinch of cayenne or a diced jalapeño.
Watch Out: Adding lime too early can cause the meat fibers to toughen, so always finish with the citrus at the end.Return the shredded beef to the pot, mixing it thoroughly with the sauce so every strand is coated. Let it sit on low heat for another 5 minutes, just to let the flavors meld. At this stage, the beef should look glossy, with the sauce clinging like a second skin.
Warm your corn or flour tortillas either on a dry skillet for 30 seconds per side or directly over a gas flame for a slight char. The heat makes them pliable and adds a subtle smokiness that complements the beef. Assemble tacos by spooning a generous mound of shredded beef onto each tortilla, then top with cilantro, diced tomatoes, onions, and avocado slices. Finish with an extra squeeze of lime if you’re feeling bold.
That's it — you did it. But hold on, I've got a few more tricks that'll take this to another level…
Insider Tricks for Flawless Results
The Temperature Rule Nobody Follows
Never rush the sear. A hot pan (around 400°F) creates a crust that locks in juices, while a cooler pan results in soggy meat. I once tried searing on medium heat to “save energy” — the beef turned out gray and flavorless. Keep the oil shimmering and let the meat sit undisturbed for a full 3‑4 minutes per side; you’ll hear a deep crackle that tells you the crust is forming.
Why Your Nose Knows Best
Your sense of smell is the ultimate doneness gauge. When the broth starts to reduce, you’ll notice a sweet, caramelized scent rising — that’s the signal the sauce is thickening just right. If it still smells raw or metallic, give it a few more minutes. Trusting your nose saves you from over‑cooking and ensures the flavors stay balanced.
The 5‑Minute Rest That Changes Everything
After shredding, let the meat rest in its own juices for five minutes before serving. This short pause allows the fibers to re‑absorb moisture, making each bite juicier. A friend once skipped this step and complained the tacos were “dry” — a simple rest can fix that every time.
Lime Timing Mastery
Add lime at the very end, after the beef has been fully incorporated into the sauce. The acid brightens the dish without breaking down the meat’s texture. If you add it too early, the proteins can tighten, resulting in a tougher bite. A final drizzle just before plating gives you that perfect pop.
Tortilla Warm‑Up Secrets
Wrap tortillas in a damp paper towel and microwave for 20 seconds, then finish on a hot skillet for a second. This method gives you a soft interior with a lightly crisped exterior, preventing the taco from cracking when you fold it. If you skip the skillet step, the tortilla stays too soft and can fall apart under the weight of the beef.
Creative Twists and Variations
This recipe is a playground. Here are some of my favorite ways to switch things up:
Chipotle‑Infused
Swap half of the chili powder for chipotle in adobo sauce. The smoky heat deepens the flavor profile, perfect for those who love a smoky bite. Top with pickled red onions to cut through the richness.
Beer‑Braised
Replace half the beef broth with a dark Mexican lager. The malt adds a subtle sweetness and a caramel undertone that pairs beautifully with the cumin. Serve with a side of queso fresco for extra creaminess.
Green‑Chile Verde
Add roasted tomatillos and green chilies to the broth for a tangy, bright twist. This version feels lighter and is perfect for summer gatherings. Garnish with fresh cotija cheese and a drizzle of crema.
BBQ‑Style
Stir in a tablespoon of smoky BBQ sauce during the last 15 minutes of braising. The result is a sweet‑smoky beef that works great on both corn tortillas and soft flour buns. Top with coleslaw for crunch.
Breakfast Taco Remix
Fold the shredded beef into scrambled eggs and serve on a warm tortilla, topped with salsa and avocado. This hearty breakfast fuels you for the day and brings a Mexican twist to the morning routine.
Storing and Bringing It Back to Life
Fridge Storage
Allow the beef to cool to room temperature, then transfer it to an airtight container. It will keep fresh for up to 4 days. When reheating, add a splash of water or broth and stir gently over low heat to revive the sauce’s silkiness.
Freezer Friendly
Portion the shredded beef into freezer‑safe bags, removing as much air as possible. It freezes well for up to 3 months. Thaw overnight in the fridge, then reheat on the stovetop with a drizzle of broth to prevent drying.
Best Reheating Method
The stovetop method wins every time: place the beef in a skillet, add a tablespoon of water, and cover for 5‑7 minutes, stirring occasionally. The added moisture steams the meat back to perfection, preserving the tender texture and vibrant flavor.