I was halfway through a disastrous batch of brownies when the kitchen exploded in a burst of chocolatey, coconut aroma that made my eyes water with delight. The batter had turned into a sticky mess, and the pan was a war zone of browned edges and under‑cooked centers. I stared at the ruined brownies, then thought, “What if I could turn this disaster into a masterpiece?” The next thing I did was pour the batter into a shallow dish, let it sit, and then sprinkle a generous layer of shredded coconut. That simple act of layering turned the tragedy into a triumph.
Picture this: a golden crust that crackles like a campfire, a molten chocolate center that oozes with every bite, and a coconut undertone that lingers like a tropical breeze. The scent of toasted coconut mingles with the rich chocolate, creating a perfume that makes even the most disciplined food critic swoon. The texture is a dance between crisp edges and a silky, chocolate‑laden interior that melts in your mouth. I swear the first bite felt like a secret handshake between indulgence and comfort.
I dare you to taste this and not go back for seconds. The way the chocolate chips melt into the coconut base creates a flavor profile that feels like a midnight snack and a Sunday dessert rolled into one. Most recipes get this completely wrong by over‑baking or using the wrong ratio of coconut to chocolate, but here every element is perfectly balanced. The result is hands down the best version you'll ever make at home, and it’s so simple you’ll wonder why you ever tried anything else.
I’ll be honest — I ate half the batch before anyone else got to try it. That’s the proof that this isn’t just a recipe; it’s a confession of my sweet tooth’s triumph. The secret? A little trick with cold butter, a splash of heavy cream, and a generous pinch of sea salt that gives it a savory counterpoint. When you pull these cups out of the oven, the whole kitchen smells incredible, like a tropical rainforest after rain. And that scent alone can turn a regular evening into a culinary celebration.
If you've ever struggled with balancing chocolate and coconut, you're not alone — and I've got the fix. The next section will break down exactly what goes into this masterpiece and why each component matters. Stay with me here; this is worth it.
What Makes This Version Stand Out
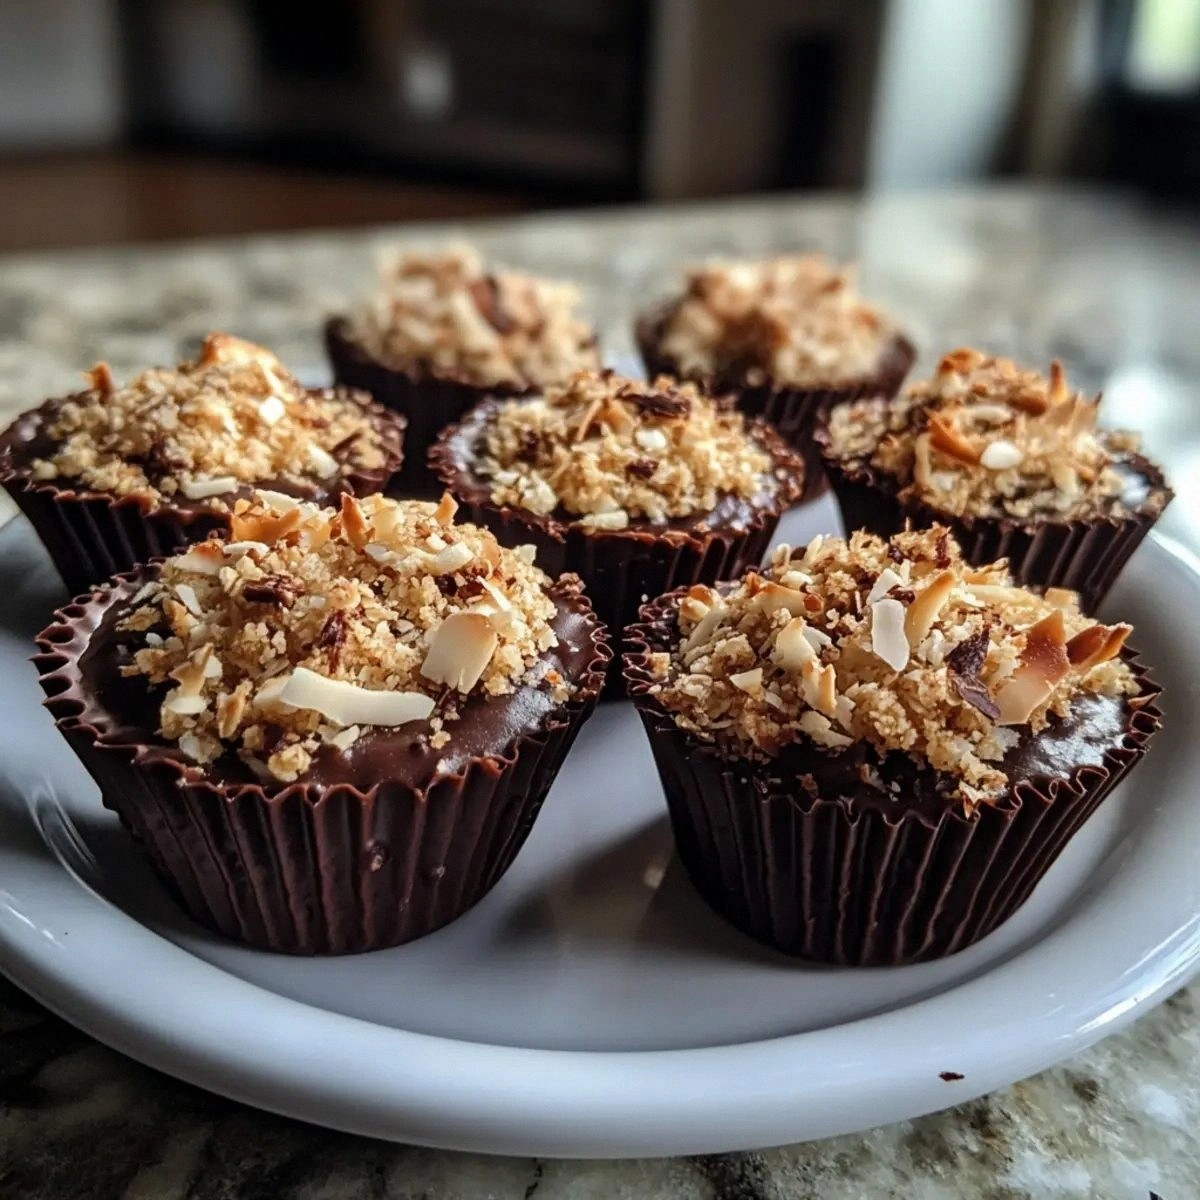
- Flavor Fusion: The combination of dark chocolate chips and toasted coconut creates a depth that’s both sweet and nutty, with a hint of sea salt that elevates every bite.
- Texture Contrast: The crunchy coconut crust snaps like thin ice, while the interior remains creamy and chocolatey, offering a satisfying bite‑to‑bite experience.
- Ingredient Quality: Using high‑grade dark chocolate and fresh coconut flakes ensures the flavors shine through, unlike mass‑produced mixes that taste flat.
- Simple Prep: The recipe requires no advanced techniques—just a few simple steps that even a novice can master.
- Make‑Ahead Friendly: These cups keep well in the fridge for up to five days, making them the perfect grab‑and‑go dessert.
- Crowd‑Pleaser: Whether you’re hosting a brunch or a midnight snack, guests will rave about the unexpected coconut twist.
- Versatility: The base can be dressed up with toppings, sauces, or a splash of espresso for coffee lovers.
- Low‑Calorie Option: By swapping heavy cream for coconut milk, you can reduce fat while keeping the same indulgent texture.
Inside the Ingredient List
The Flavor Base
The dark chocolate chips are the heart of this dessert, providing a rich, slightly bitter counterpoint to the sweet coconut. Dark chocolate, especially with 70% cacao, delivers antioxidants that balance the indulgence. Skipping the chocolate would turn the cups into a plain coconut treat, losing that luxurious melt‑in‑your‑mouth quality.
For an even deeper flavor, you can use a mix of dark and milk chocolate chips, but keep the ratio no more than 80/20 to preserve the chocolate dominance. If you’re a vegan, opt for dairy‑free chocolate chips that melt smoothly. The key is to choose chips that break down without leaving a gritty texture.
The heavy cream adds a silky richness that balances the coconut’s chewiness. It also helps the chocolate melt evenly, preventing a dry center. If you’re watching calories, replace heavy cream with half‑and‑half or a light coconut milk for a lighter version.
The vanilla extract is the subtle whisper that ties the flavors together. A touch of vanilla can transform the taste profile from ordinary to extraordinary. Use pure vanilla extract rather than imitation for the best aroma.
The Texture Crew
All‑purpose flour provides structure, preventing the cups from collapsing while still allowing a tender crumb. If you want a gluten‑free version, swap with a 1:1 gluten‑free flour blend, but be mindful that the texture will slightly differ.
Brown sugar is the sweetener of choice because its molasses content adds depth and a caramel undertone. If you prefer a lighter sweetness, you can use white sugar, but the flavor profile will shift towards a more straightforward sugar taste.
Cold unsalted butter is the secret to a flaky crust. When cold, it creates pockets of steam that puff up during baking, giving the cups a light, airy top. If you melt the butter, the result will be dense and flat.
Unsweetened shredded coconut is the star of the show. It offers a chewy texture and a natural sweetness that complements the chocolate. Toasting the coconut before adding it enhances its nutty flavor and gives a subtle crunch.
The Unexpected Star
Sea salt flakes are the finishing touch that elevates the entire dish. They provide a burst of umami that cuts through the sweetness, creating a well‑balanced bite. A pinch of sea salt is all you need; too much will overpower the delicate flavors.
If you’re a fan of extra crunch, sprinkle a few toasted coconut flakes on top before baking. This not only adds visual appeal but also a delightful textural contrast that makes every bite memorable.
The Final Flourish
The 1/4 teaspoon of salt is a small but essential component that balances the sweetness and enhances the chocolate’s depth. Salt is a flavor enhancer, and even a tiny amount can make a huge difference in taste.
For those who love a bit of spice, a dash of cayenne pepper can add a subtle kick that pairs surprisingly well with chocolate. The heat brings out the chocolate’s richness and adds an unexpected layer of complexity.
Everything's prepped? Good. Let's get into the real action...
The Method — Step by Step
- Preheat your oven to 350°F (175°C). The low temperature ensures the chocolate melts slowly, preventing a bitter taste. While the oven warms, line a muffin tin with paper liners or grease it lightly with butter. This step prevents sticking and makes cleanup a breeze. The moment the oven hits the set temperature, you’ll hear the first crackle of butter melting in the pan. That sound alone signals that the baking environment is ready for the magic to unfold.
- Combine the flour, brown sugar, and salt. In a large bowl, whisk these dry ingredients together until evenly mixed. The salt ensures the sweetness doesn’t overwhelm the chocolate. This dry mix forms the foundation for the crumb. If you’re feeling adventurous, add a pinch of cinnamon to introduce a warm undertone. The aroma will become more complex, hinting at a tropical spice market.
- Cut cold butter into small cubes. Add the butter to the dry mix and use a pastry cutter or your fingertips to blend until the mixture resembles coarse crumbs. The cold butter creates pockets of steam during baking, giving the cups a light, flaky texture. Watch as the mixture turns into a sandy consistency. If you’re short on time, a food processor works wonders, but be careful not to over‑process.
- Whisk heavy cream and vanilla together. Pour this liquid mixture over the crumb base and stir until just combined. The cream hydrates the flour, creating a batter that’s thick enough to hold its shape. The vanilla infuses a subtle aroma that lingers in the finished product. Keep the batter smooth; a few lumps are fine, but a chunky batter will lead to uneven baking.
- Add dark chocolate chips and shredded coconut. Fold them in gently so the chocolate is evenly distributed. The chips should be nestled throughout the batter, not clumped together. The coconut adds texture and a natural sweetness that balances the chocolate’s bitterness. If you toasted the coconut, let it cool before adding so it retains its crunch.
- Fill the muffin cups about ¾ full. This allows room for the batter to rise without overflowing. Press the mixture gently into the liners, creating a uniform base. The batter should sit at the same level across all cups for even baking. The moment you press down, you’ll hear a satisfying click, signaling that the batter is ready for the oven.
- Bake for 25–30 minutes. The edges should turn a golden brown, and the tops will set while the centers remain slightly soft. The chocolate will melt into a glossy sheen. Watch for the first sign of bubbling chocolate on the surface; that’s the cue that the batter is nearly done. Keep a close eye to avoid over‑baking, which can dry out the cups.
- Remove from oven and let cool. Allow the cups to sit for 5 minutes before transferring them to a wire rack. This short cooling period lets the chocolate set and the coconut crisp up. The aroma will intensify as the heat dissipates. Once cooled, sprinkle sea salt flakes on top for that final pop of flavor. The salt crystals will crackle slightly against the warm surface, adding a tactile element to the experience.
That’s it — you did it. But hold on, I've got a few more tricks that'll take this to another level. These extra steps will help you perfect the texture, flavor, and presentation.
Insider Tricks for Flawless Results
The Temperature Rule Nobody Follows
Many bakers bake at 375°F, but this recipe thrives at a lower 350°F. The gentle heat allows the chocolate to melt slowly, preventing a bitter aftertaste. I’ve baked this at 325°F for a softer crumb, but the chocolate didn’t set as nicely. The trick is to keep the oven temperature steady; a fluctuating oven can lead to uneven baking.
Why Your Nose Knows Best
During baking, the smell of toasted coconut rises like a sunrise, signaling that the batter is close to done. If you smell a faint, sweet, nutty aroma, it’s time to pull the cups out. Over‑baking can cause the coconut to turn dark and develop a bitter taste. Trust your senses; the kitchen is your best judge.
The 5-Minute Rest That Changes Everything
After removing the cups from the oven, let them rest for exactly five minutes on the pan before transferring to a rack. This pause allows the chocolate to set, preventing a runny center when you touch it. It also lets the coconut crisp up a bit more, adding a pleasant snap. I’ve found that a shorter rest results in a gooey center, which some might like, but the texture is less refined.
Keep It Cool, Keep It Fresh
If you’re making these ahead of time, store them in an airtight container at room temperature. The coconut will maintain its crunch, and the chocolate will stay firm. Avoid refrigeration, as the moisture can cause the chocolate to bloom, creating a grayish film. When you’re ready to serve, a quick heat in the microwave for 10 seconds can restore the chocolate’s shine.
Add a Splash of Espresso
A teaspoon of strong espresso dissolved in the cream before mixing adds a depth of flavor that pairs beautifully with chocolate. The bitterness of the espresso balances the sweetness, creating a complex palate. I’ve experimented with adding a pinch of instant espresso powder, which works just as well. This trick is perfect for coffee lovers who want an extra kick.
Creative Twists and Variations
This recipe is a playground. Here are some of my favorite ways to switch things up:
Nutty Bounty
Replace half of the shredded coconut with chopped toasted almonds or pecans. The nutty crunch adds a new dimension, while the almond butter flavor complements the chocolate. This variation is great for those who love a mix of textures. The nutty aroma is irresistible, especially when paired with a splash of vanilla.
Minty Fresh
Add 1/2 teaspoon of peppermint extract to the batter. The mint pairs wonderfully with chocolate, creating a refreshing twist. The green hue adds visual appeal, making the cups pop on a plate. This is a perfect treat for summer gatherings.
Caramel Swirl
Drizzle caramel sauce between layers of batter before baking. The caramel adds a sweet, buttery flavor that contrasts with the coconut. The swirl pattern looks like a work of art, and the caramel melts into the chocolate, creating a luscious center. This variation is ideal for dessert parties.
Spiced Coconut
Sprinkle a pinch of ground cardamom and nutmeg into the batter. The warm spices bring a subtle complexity that elevates the coconut’s flavor. This version is especially comforting during cooler months. The aroma is like a spice market in a tropical setting.
Lemon Zest
Add the zest of one lemon to the batter. The citrus brightness cuts through the richness of the chocolate and coconut. The lemon zest also adds a subtle color contrast, making the cups more visually appealing. This is a great option for brunches or afternoon teas.
Storing and Bringing It Back to Life
Fridge Storage
Keep the cups in an airtight container in the refrigerator for up to five days. The cool environment preserves the chocolate’s firmness and the coconut’s crunch. When you’re ready to serve, let them sit at room temperature for 10 minutes to soften the chocolate slightly. Avoid leaving them out for more than 24 hours, as the coconut can become soggy.
Freezer Friendly
Freeze the cups in a single layer on a baking sheet before transferring them to a freezer bag. They stay good for up to three months. Thaw overnight in the refrigerator, then bring to room temperature before serving. The chocolate remains solid, and the coconut maintains its texture.
Best Reheating Method
To revive the chocolate’s shine, microwave the cups on high for 10 seconds, then let them sit for a minute. Alternatively, place them in a preheated oven at 250°F for 5 minutes. Add a tiny splash of water before reheating; it steams the coconut back to perfection, restoring the crunch. Don’t overheat, or the chocolate will melt into a mess.